Elevate your home with expert tips on stylish décor, kitchen upgrades, and bedroom makeovers. Discover furniture ideas and real estate insights!
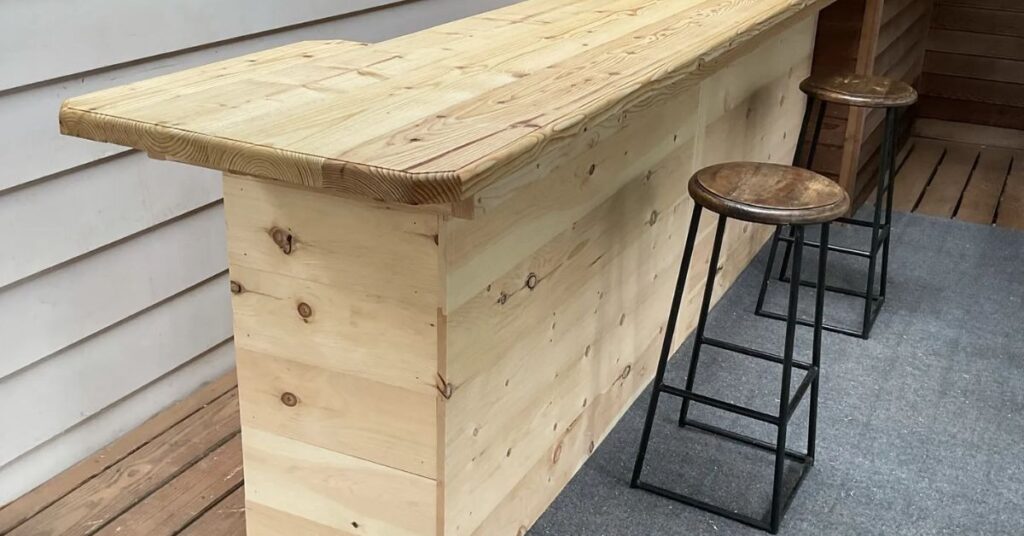
Building a bar at home is a simple and rewarding project. You can use materials like wood, steel, or stone to create a unique design. Start by planning the layout and making sure it fits your space. With basic tools and a weekend of work, you can enjoy your own custom bar at home.
Want to create a fun space at home? Building a bar is easier than you think! You’ll need some basic materials like wood and tools. With a good plan and a weekend of work, you can build a bar perfect for parties or relaxing. Ready to make your own cozy spot for friends? Let’s get started!
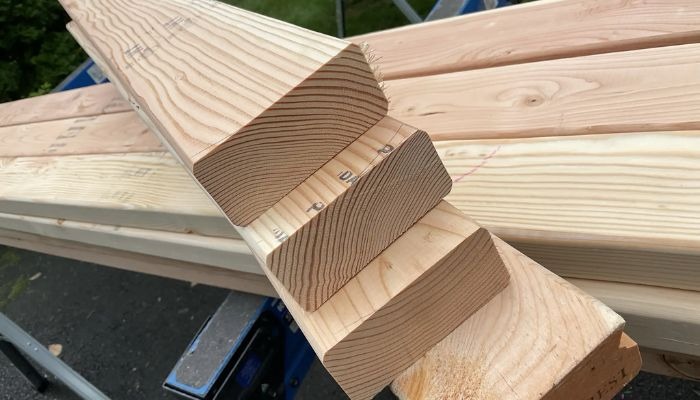
To build a bar, you need specific materials. Start with sturdy wood like 2x4s and plywood for the frame and structure. You will also need screws, nails, and wood glue to hold everything together. Other materials include the bartop surface, which could be wood, granite, or laminate for durability and style.
Before starting, gather all your materials in one place. This helps you work faster and prevents interruptions. Choosing quality materials is important for the bar’s strength and appearance. Make sure to have all your tools ready, like a saw, drill, and sandpaper. Preparing in advance will make building easier.
Also Read: Andre Hakkak House | Inside the Luxurious Home
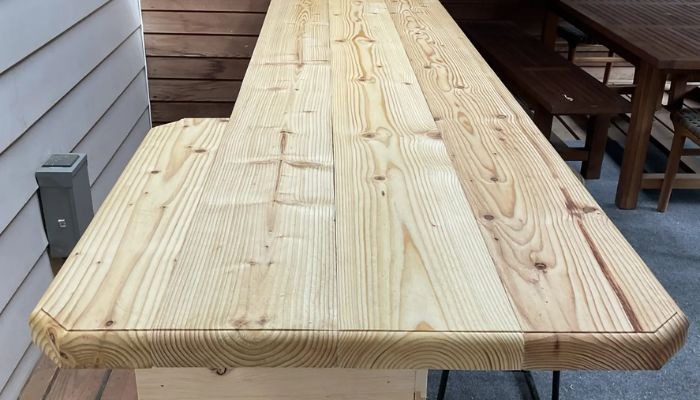
The layout is the first step in creating a bar. Decide where you want to place it and measure the space carefully. A typical bar height is about 42 inches, and the depth is around 22 inches. Make sure there’s enough room for people to sit and move around comfortably.
Sketching the layout helps you visualize the final design. Think about where you will store drinks and glasses as well. Good planning will make the building process smoother and more efficient. Consider adding electrical outlets for lighting or appliances. A well-thought-out layout makes your bar more enjoyable to use.
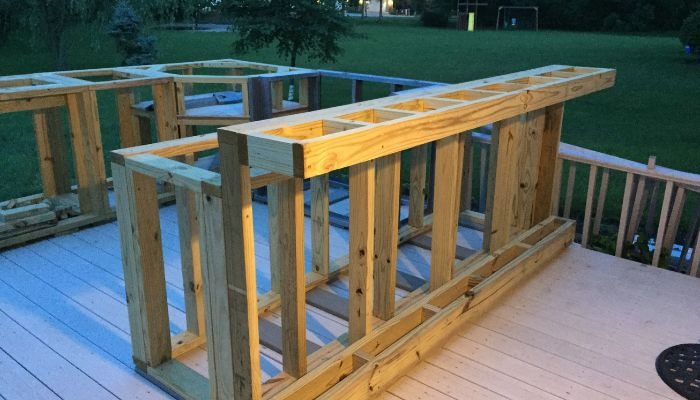
Framing provides the bar with a strong structure. Use 2×4 lumber to create a solid frame, attaching the pieces with screws. Make sure the frame is level and square before moving to the next step. Proper framing is essential for the stability and durability of your bar.
Check for any wobbling or weak spots in the frame. Reinforce areas that need extra support to ensure it stays strong. A good frame will make it easier to install the bartop and other features later. Take your time during this step to avoid future problems. Solid framing is key to a successful bar build.
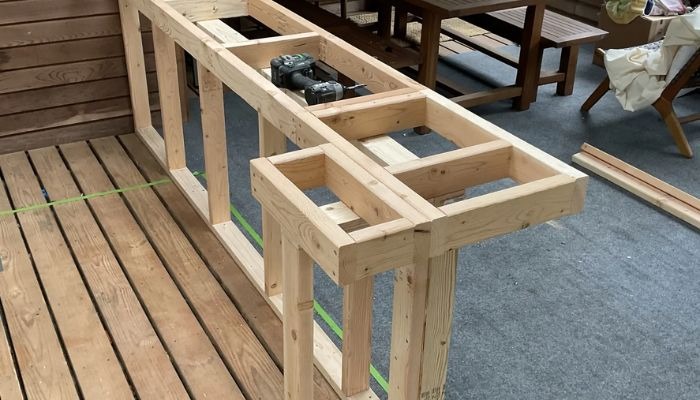
The bartop base is crucial for supporting the surface. Use plywood or 2x4s to create a strong base that fits your frame. Make sure it is level and secure so that it can hold the weight of the bartop and items placed on it. A well-built base is important for a stable and functional bar.
This base should extend slightly beyond the frame to provide a comfortable overhang. Check for any uneven spots and fix them before proceeding. A solid bartop base ensures the overall look and feel of the bar is attractive. Taking time with this step will pay off in the end.
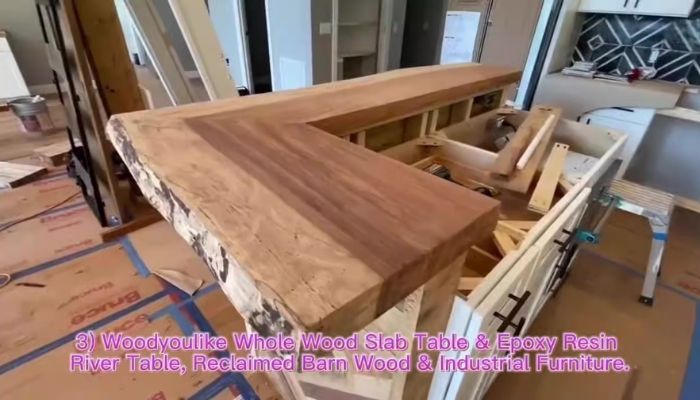
The bartop is the main surface where drinks and food are served. Choose materials like hardwood, granite, or laminate for a beautiful finish. Attach the bartop securely to the base to prevent movement during use. Sand the edges to create a smooth, comfortable surface for guests.
Consider sealing the bartop to protect it from spills and scratches. This will help maintain its appearance over time. You can also customize the bartop with stains or finishes to match your decor. A well-made bartop is both functional and visually appealing. Take care to make this surface shine.
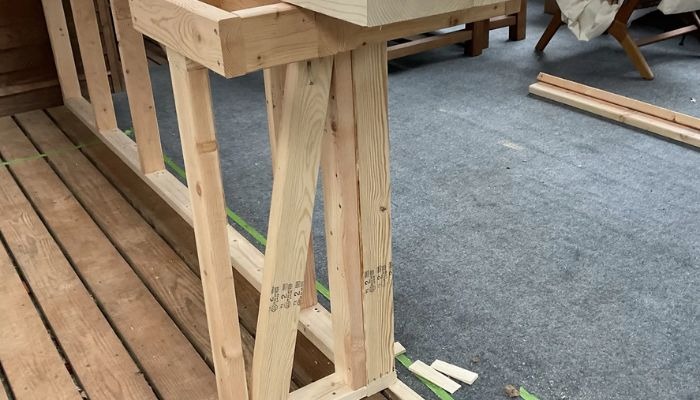
A rack brace adds extra support to your bar. Install it between the frame and the bartop to prevent wobbling. Use strong wood and secure it with screws to ensure it stays in place. A good rack brace helps keep the structure solid and reliable.
Adding this brace allows you to store items above the bartop safely. It also prevents any flexing or movement during use. This step is important for maintaining a durable bar. Don’t skip it, as a strong brace can make a big difference. A secure rack brace enhances the overall stability of your bar.
The ends of the bartop give it a finished and polished look. You can use decorative molding or trim to enhance the edges. Secure these ends to the bartop to ensure they align properly. Well-finished ends not only improve appearance but also protect against wear and damage.
Consider rounding or beveling the edges for a softer feel. This small detail can greatly enhance the look of your bar. Properly finished ends also help prevent damage from spills and scratches. Take your time to make sure these details are well done. A nice finish can elevate the entire bar design.
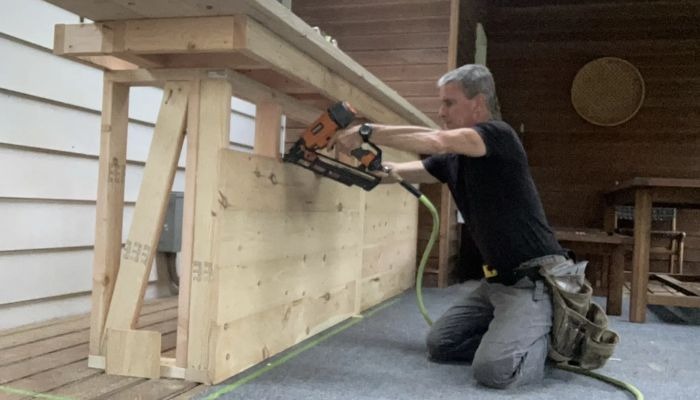
Shiplap is a trendy choice for bar fronts and adds character. These wooden boards fit together easily and create a cozy look. You can paint or stain shiplap to match your bar’s style, making it very versatile. Installing shiplap is a simple way to transform the appearance of your bar.
Using shiplap provides both texture and durability to the bar design. It’s an affordable option that enhances the overall aesthetic. Shiplap works well in various styles, from rustic to modern. This design choice adds charm and character to your bar. Consider using shiplap for a beautiful finish!
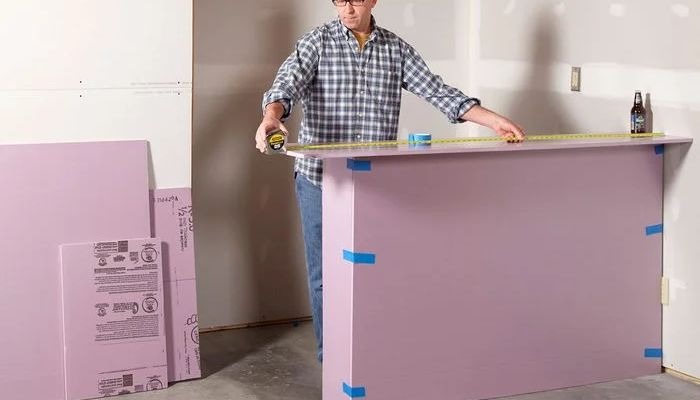
The anatomy of a bar includes several key parts. These parts are the bartop, base, shelves, and supports. Each part plays an important role in the bar’s function and style. Understanding these components helps you design a bar that meets your needs.
The bartop is where drinks are served, and it should be sturdy and attractive. The base provides support, while shelves store bottles and glasses. Properly designed supports help keep everything stable. A well-structured bar allows for both function and comfort.
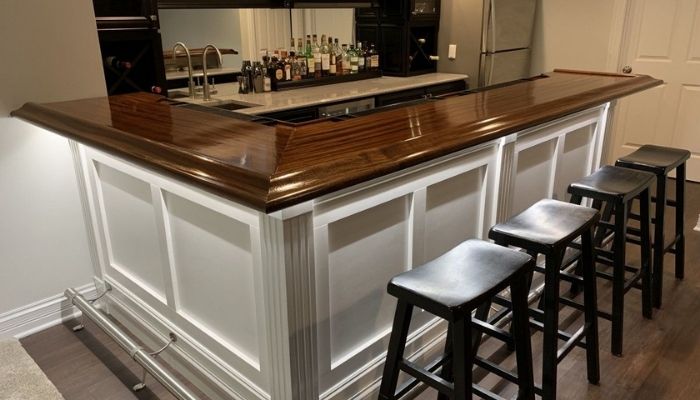
Planning your bar is the first step in the building process. Think about the size, shape, and style you want for your bar. Measure your space to ensure the bar fits comfortably without overcrowding the area. A good plan makes the building process easier and more enjoyable.
Consider how you will use the bar, whether for entertaining or casual drinks. Decide on features like storage, lighting, and seating arrangements. Drawing a simple sketch can help visualize your ideas. A solid plan leads to a successful bar that fits your lifestyle.
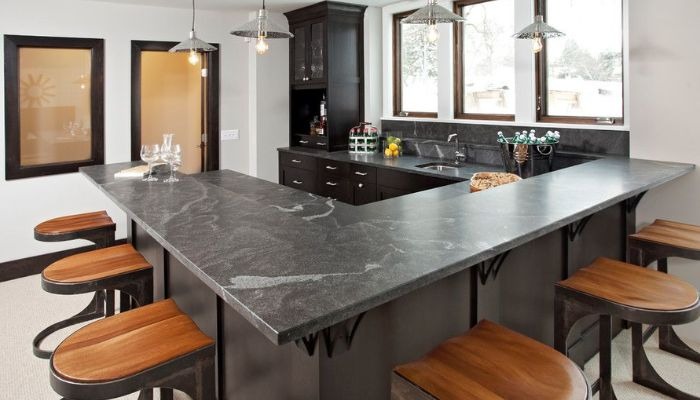
Cultured stone bars are a stylish choice for your home. This material mimics the look of real stone but is lighter and easier to install. Cultured stone adds texture and a natural feel to your bar. It’s durable and can withstand spills, making it practical as well.
These bars can be designed in various styles to match your decor. You can use cultured stone for the bar front or as part of the bartop. It is also available in many colors and patterns. This flexibility allows you to create a unique look for your space.
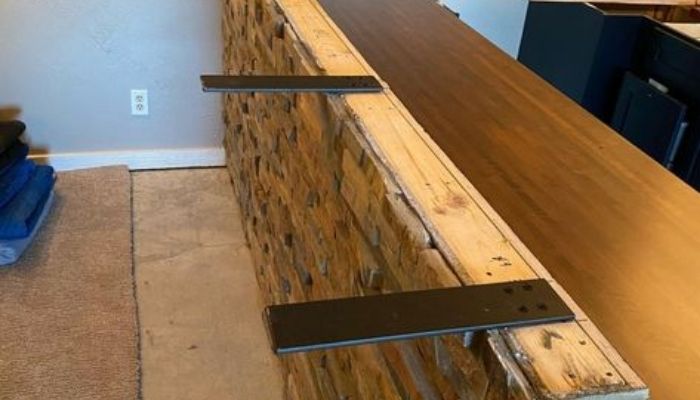
Granite bars are known for their beauty and strength. They offer a luxurious look and are very durable. Granite can handle heat and spills, making it a great choice for a bartop. Its natural patterns give each bar a one-of-a-kind appearance.
Installing a granite bartop requires proper support because of its weight. It’s best to work with a professional to ensure it fits correctly. Granite also needs sealing to protect it from stains. This maintenance helps keep your bar looking new for years.
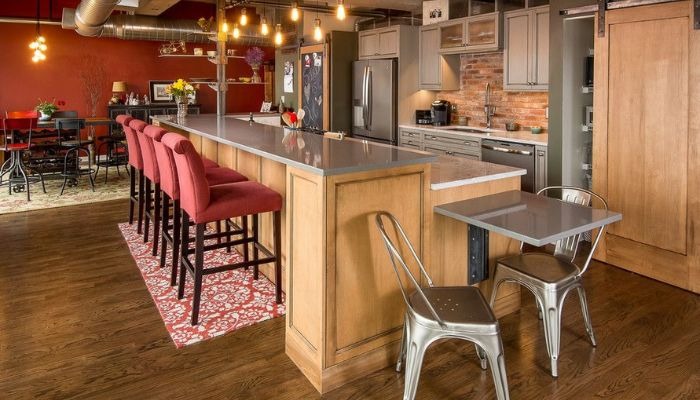
Steel bars are modern and industrial in style. They provide a sleek look and are extremely durable. Steel can resist dents and scratches, making it ideal for busy spaces. This material is also easy to clean, which is a big plus for a bar.
You can use steel for the bartop or as accents in your design. Mixing steel with wood or stone can create a beautiful contrast. It’s important to ensure the steel is treated to prevent rust. A well-designed steel bar adds a contemporary touch to your home.
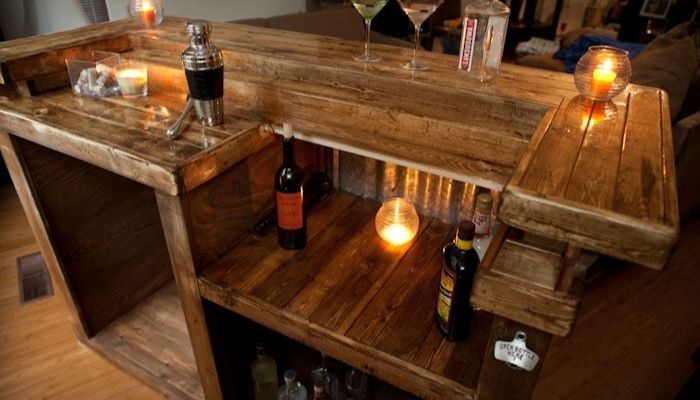
Wood bars offer warmth and charm to any space. They are versatile and can fit many design styles, from rustic to modern. Different types of wood can be used, each bringing its own unique look. Proper finishing protects the wood and enhances its natural beauty.
Building a wood bar requires careful selection of high-quality lumber. This ensures the bar is sturdy and lasts for years. Regular maintenance, like oiling, helps keep the wood looking great. A well-crafted wood bar is inviting and perfect for gatherings.
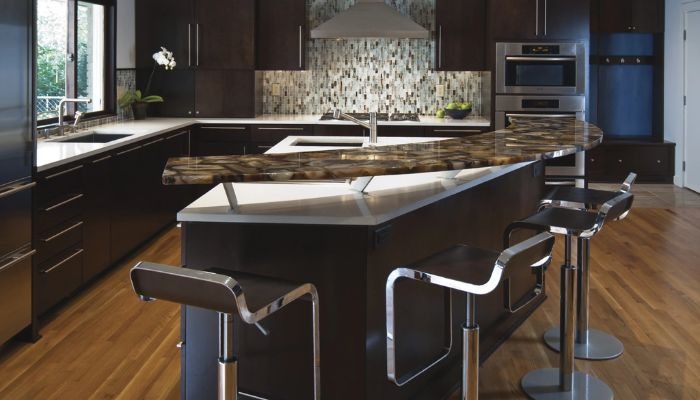
Installing a tap system allows you to serve draft beer at home. This system connects kegs to the taps for easy pouring. First, decide on the location and type of taps you want. Make sure to follow all safety guidelines for installation.
You will need a CO2 tank to keep the beer carbonated. It’s important to learn how to maintain the system for the best results. Cleaning the lines regularly is key to good-tasting beer. A well-installed tap system makes your bar feel professional and fun.
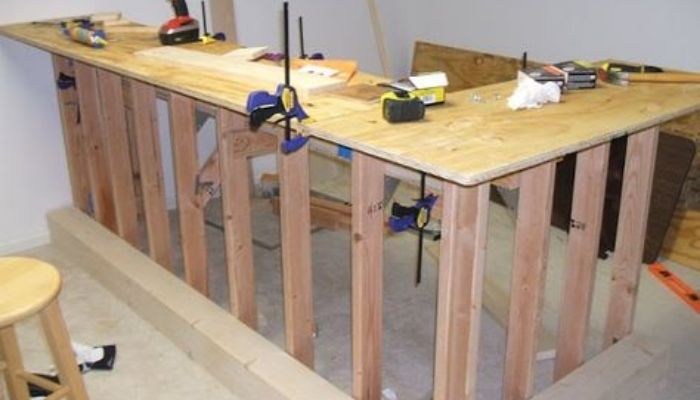
A drip tray is an important feature for any bar. It catches spills and keeps the area clean. Installing a drip tray below the taps prevents messes from reaching the floor. This makes cleaning easier and helps maintain the bar’s appearance.
Choose a drip tray that fits well with your bar design. Some trays are removable for easy cleaning, while others are built-in. A good drip tray also protects the wood or surface below. This small detail can make a big difference in your bar’s function and look.
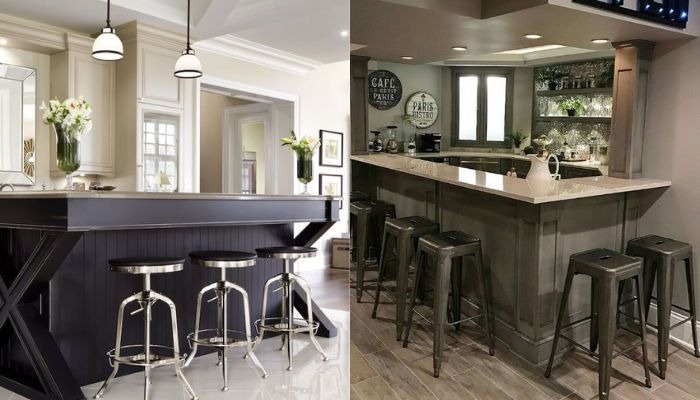
Bar molding adds style and finishing touches to your bar. It frames the bartop and gives a polished look. Choose molding that complements your bar’s design and color. Proper installation ensures it stays secure and looks professional.
When selecting molding, consider its size and style. A larger molding can make the bar look more traditional, while sleek designs suit modern spaces. Use finishing nails to attach the molding securely. Well-chosen molding can enhance your bar’s overall appeal.
To build shelves for your bar, choose strong wood. You can use 2x4s or plywood for sturdy support. Cut the wood to the size you want, then attach brackets to hold the shelves in place. Make sure the shelves are level so they can hold drinks and glasses safely. Use screws to secure the brackets firmly to the wall.
After cutting the wood, sand the edges to make them smooth. This will help prevent splinters when you reach for items. You can also paint or stain the shelves to match your bar’s style. Personalizing the shelves will make your bar feel unique and inviting for guests.
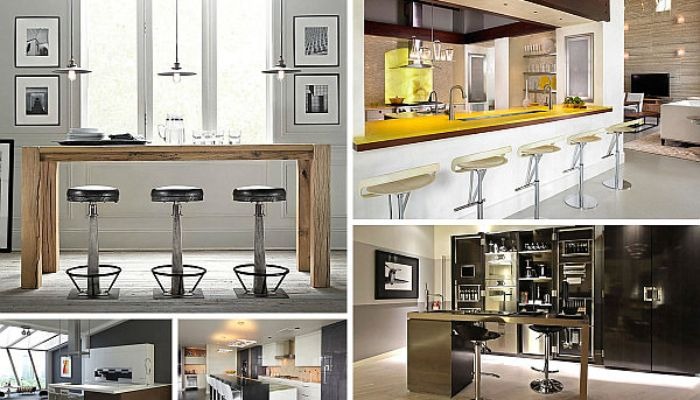
“The big cut” is a crucial step in building your bar. It involves cutting the wood pieces to the right sizes for the frame and the top. Use a circular saw or miter saw for clean, straight cuts. Always measure twice before you cut to avoid mistakes and wasted materials. Safety gear like goggles and gloves is also important during this process.
Once you have your cuts, check that they fit together well. This ensures your bar will be sturdy and look nice. Take your time with this step; it sets the foundation for the rest of the project. Properly cut pieces will help your bar stay strong and last for years.
The bar rail is the top edge of your bar, where people rest their arms. It should be comfortable and stylish. You can use a rounded piece of wood or a thicker flat board for this purpose. Make sure the rail is wide enough to be functional but not so wide that it takes up too much space.
Attach the bar rail using screws or brackets to ensure it is secure. You can also add a little curve to the rail for a nice touch. This will make your bar more inviting and comfortable for guests to sit at. A well-built bar rail enhances the overall look of your bar.

The spill rail is a small ledge along the bar’s edge. It helps catch any spills from drinks, keeping your bar clean. This is especially useful during busy times when drinks might accidentally tip over. Building a spill rail is a smart choice for both style and function.
To create the spill rail, cut a small piece of wood and attach it to the bar’s front. Make sure it is at a slight angle to help direct spills back into the bar area. You can also paint or finish the spill rail to match the bar’s design. This detail adds a professional touch and protects your bar surface.
Facing the spill rail adds a nice finish to your bar. You can use decorative wood or even tile to enhance its appearance. This makes your bar look polished and complete. Choose a material that matches your overall bar design for the best effect.
Attach the facing securely using glue and nails. Ensure it is even and straight for a professional look. This small detail can make a big difference in the overall style of your bar. A well-finished spill rail is both practical and attractive for guests.
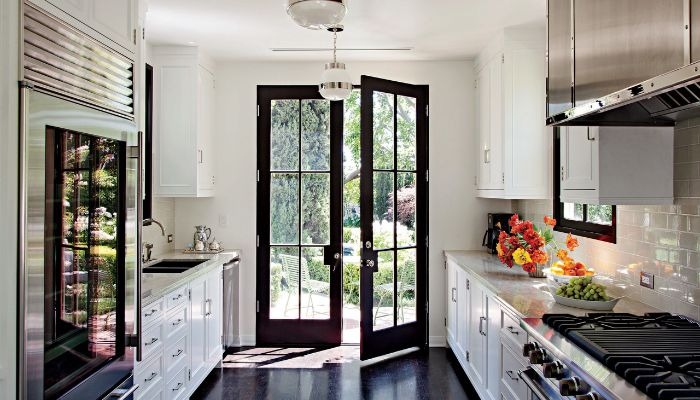
If you want to add doors to your bar, consider making them with glass windows. This allows you to show off your drink collection while keeping everything organized. Measure the opening where you want the doors carefully before cutting the wood. You can use clear or frosted glass to match your style.
When building the doors, attach hinges securely to ensure they open and close easily. You can add a handle or knob for a nice finishing touch. Painting or staining the doors to match the bar will help create a cohesive look. Well-designed doors can elevate the bar’s functionality and style.
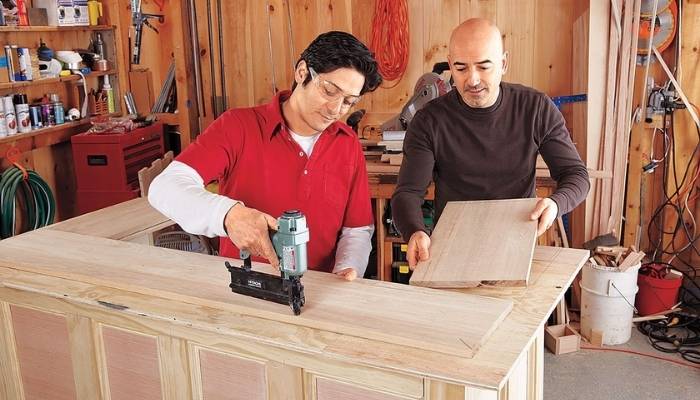
Now it’s time for the final touches on your bar. This includes painting or staining the wood to give it color and shine. Choose a finish that complements your home decor and personal style. Bright colors can create a fun vibe, while darker tones offer a classic look.
After applying color, consider adding a protective topcoat. This will help keep the bar looking great and protect it from wear and tear. Take your time to ensure even application for the best result. This last step will make your bar inviting and ready for guests.
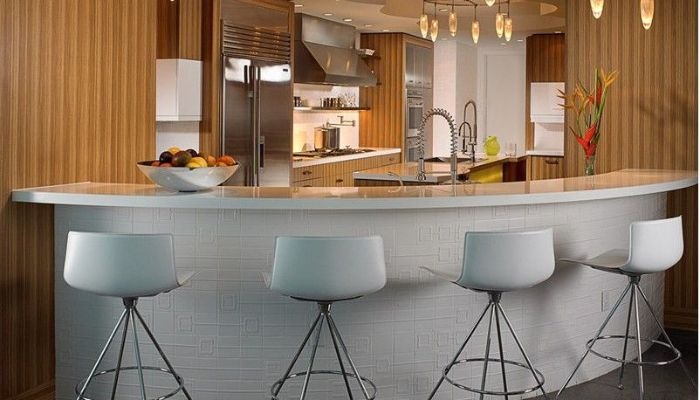
Varnish is a clear finish that protects the wood and enhances its beauty. After painting or staining, applying varnish will give your bar a shiny, polished look. It also makes the surface easier to clean, which is important for a bar. Make sure to apply varnish in a well-ventilated area for safety.
Use a brush or a spray can to apply an even coat of varnish. Allow it to dry completely before using your bar. Multiple coats may be necessary for a durable finish, so follow the instructions on the varnish can. A well-varnished diy bar plans will look professional and last for years.
If you want to serve draft beer, a tap display is a great addition to your bar. You can choose a stylish tap system that matches your bar’s theme. This will not only look good but also make it easy to pour drinks for guests. Consider the number of taps you want based on your drink choices.
When installing the tap display, make sure to connect it to a keg system properly. This might require some plumbing knowledge, so don’t hesitate to ask for help if needed. A functional tap display adds a fun element to your bar experience. It will impress your friends and family when they come over.
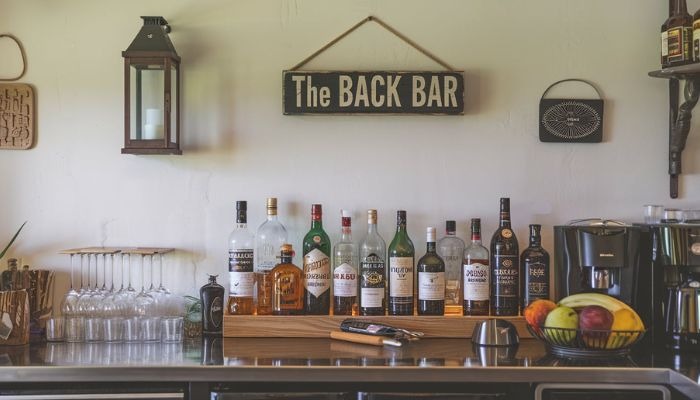
The back bar is the area behind the main bar where you store drinks and supplies. It can include shelves for bottles, glasses, and mixers. Make sure it is organized and easy to reach. This helps bartenders work efficiently when serving drinks.
You can add lighting to the back bar for a nice effect. This will help highlight your drink collection and create an inviting atmosphere. Choose materials that match your bar’s style for a cohesive look. A well-designed back bar enhances both function and aesthetics.
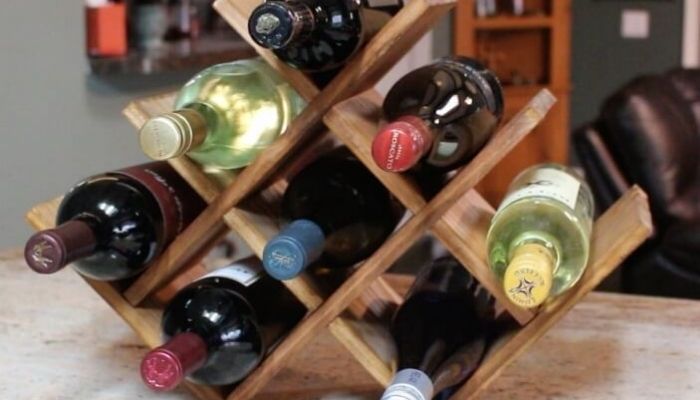
If you love wine, consider adding wine rack holes to your bar design. This allows you to store wine bottles neatly and keep them within reach. Measure the size of the wine bottles to create holes that fit perfectly. This is a great way to showcase your wine collection.
When cutting the holes, use a drill or a hole saw for clean edges. You can place the racks at a comfortable height for easy access. This feature will add a unique touch to your bar and make it feel more personalized. Properly designed wine racks can also impress your guests.
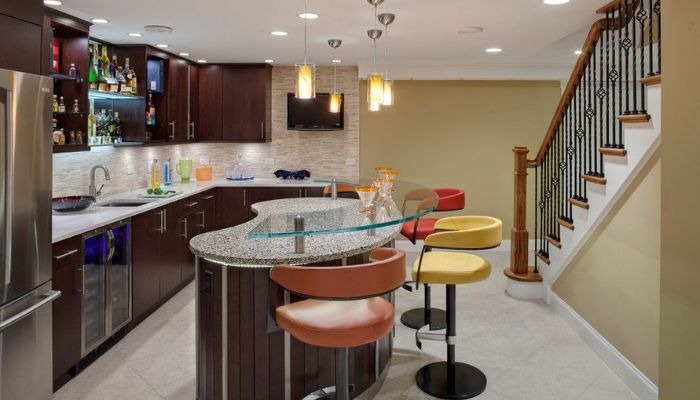
Adding lighting to your oak diy home bar can create a warm and inviting atmosphere. Consider under-shelf lighting to highlight your drink collection. You can use LED strips for energy efficiency and a modern touch. Warm-toned lights work well with oak wood to enhance its natural beauty.
Placement of the lights is important; ensure they shine down on the bar top and back bar. This will help create a cozy setting for entertaining guests. Proper lighting can transform your bar space and make it feel more welcoming. A well-lit bar is sure to be a hit during gatherings.
Also Read: Barndominium Kitchen Ideas: Embrace Rustic Elegance in Your Home
Start by planning the layout and gathering materials like wood, screws, and tools. Create a simple frame using 2x4s for stability, then add how to mak a bar top of your choice. Finish with personal touches like shelves or decorative elements.
Choose a suitable wall space and measure for the bar’s dimensions. Secure brackets or a frame to the wall to support the bartop, ensuring it is level. Add a bartop and consider installing shelves above for storage.
Use 2×4 lumber to construct a rectangular frame that fits your desired bar size. Secure the pieces together with screws, checking for level and stability. Reinforce the corners and add additional support as needed for durability.
Yes, you can build your own bar a diy bar bulid in a small space! Consider a wall-mounted or foldable bar design that saves space when not in use. Use compact shelves for storage and ensure there’s enough room for movement around the bar area.
A standard bar height is about 42 inches, which is comfortable for standing and sitting. If you plan to use bar stools, make sure they are the right height to fit under the bar. Measure your space to ensure the bar fits well and allows for comfortable seating.
Building a bar at home is a fun project that anyone can do. First, decide where you want to place the bar and measure the space. Gather materials like wood, screws, and tools to help you. Make a plan for the size and design to fit your needs. A good layout will make building easier and more enjoyable.
Once you have your materials, start by building the frame. Use strong wood and ensure everything is level for stability. Attach the bartop securely and sand the edges for a smooth finish. You can paint or varnish the bar to give it a nice look. Finally, add shelves and any personal touches to make it unique. Enjoy your new bar for parties or relaxing times with friends.